Typical Repairs: Before and After Photos.
(click on any photo to enlarge)
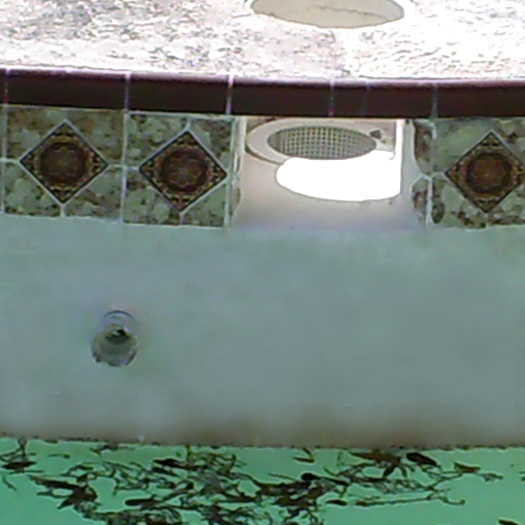
Skimmer Mouth
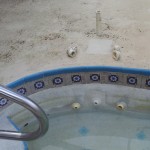
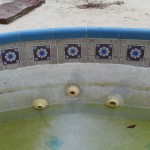
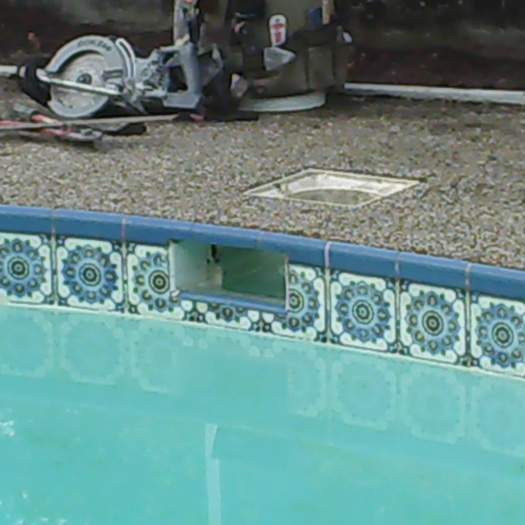
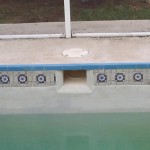
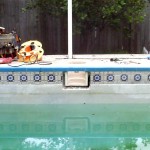
This is a very common repair. The pool leaks at the skimmer mouth and it’s owner finally tires of the putty patches breaking down. The entire mouth area is cleaned out and packed full of hydraulic cement to waterproof it, then finished to the existing pool surface level (both the original material brand and color are used to match pool as closely as possible). If customer has extra tiles (they rarely do), or tile can still be purchased (pattern designs often go out of style), we will put them back.
*the water level is much lower than needed for this repair due to 2nd repair done on same day (see return replacement repair below).
Vacuum Line and Skimmer Mouth Repair
This repair had a recessed skimmer mouth leak and also leaked around the vacuum line outlet. Both areas had been heavily puttied for years. The area around vac-line was cut and chiseled out as well as around the skimmer mouth. Sometimes you have to access through the deck to reach a deeply recessed skimmer. Both areas were then packed with hydraulic cement, marcite then applied on top and feathered to existing levels.
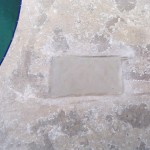
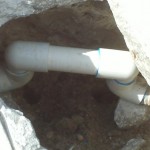
Thru-Deck Repair
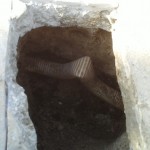
A leaking or broken pipe beneath the deck poses unique challenges. In this repair the concrete deck had to be jack-hammered to get to the plumbing below. Delicate, highly-specialized work is required to keep a major problem from becoming a catastrophe. Old, inferior piping was replaced with modern PVC, hole back-filled with soil to stabilize the pipe and then the deck restored.
Return Replacement
These pictures are of a wall return replacement due to a cracked pipe right at the back of the shell. We had to go through the deck to expose the leak. The entire outlet had to be removed and replaced. It was then re-plumbed back into the existing return line. The area around the new outlet was repaired, pipe stabilized, hole covered, then the deck restored.
Skimmer Replacement and Deck Repair
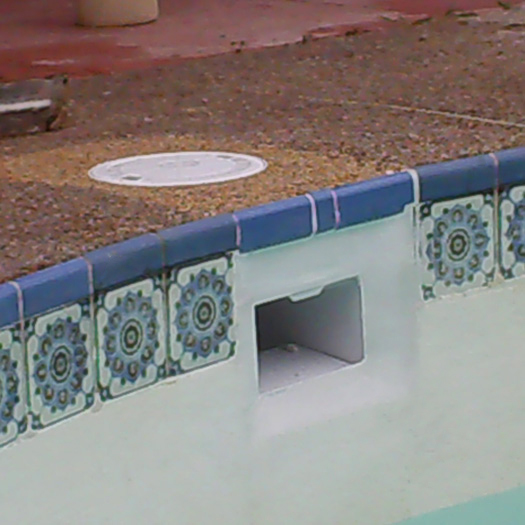
In this repair, we had to re-set the skimmer at a lower position. There was a really bad leak behind the tiles, almost all the way around the pool. Lowering the mouth of the skimmer also lowered the height of the normal operating level of the pool water. This now allows the skimmer to operate without water leaking through the tile-line. The old skimmer was removed and a new one set at the right height. It was then plumbed back in and the area around the mouth waterproofed. The hole was filled and the deck repaired. Cap tiles were set. Then marcite was applied around the mouth area to match the pool color.
*the patterned waterline tiles were way out of style and could not be purchased, the owner had no extras anywhere to work with, and was just happy that the pool could finally operate without water loss.

